Solar Panel Installation Diagram: Step-by-Step Guide for Beginners
A solar panel installation diagram visually represents the setup of solar panels, inverters, and batteries. It ensures proper connection and efficient energy generation.
Solar energy is a sustainable and cost-effective power source. Understanding the layout of a solar panel system is crucial for efficient installation. The diagram includes solar panels, an inverter, a charge controller, and batteries. Each component plays a vital role in converting sunlight into usable electricity.
Proper installation not only maximizes energy output but also ensures the safety and longevity of the system. A clear, detailed diagram helps installers and homeowners visualize the process, making it easier to follow guidelines and avoid mistakes. This clarity supports optimal performance and long-term benefits of solar energy.

Pre-installation Preparation
Before installing solar panels, you need proper preparation. This ensures a smooth process and optimal performance. Below are crucial steps to follow for pre-installation preparation.
Assessing Your Energy Needs
Understanding your energy needs is the first step. This helps determine how many solar panels you need. Start by reviewing your past utility bills. Note the average energy consumption per month.
| Month | Energy Consumption (kWh) |
|---|---|
| January | 300 |
| February | 280 |
| March | 310 |
Next, calculate the average energy consumption. This gives you an idea of your energy needs.
Selecting The Right Solar Panels
Selecting the right solar panels is crucial. Not all panels are the same. Consider the following factors:
- Efficiency: How well the panel converts sunlight to electricity.
- Durability: The lifespan of the solar panel.
- Cost: The price of the panel and installation.
Mono-crystalline panels are efficient but costly. Poly-crystalline panels are less efficient but cheaper. Choose based on your budget and energy needs.
Also, consider the warranty offered by the manufacturer. A longer warranty often indicates better quality.
Gathering Tools And Materials
Starting a solar panel installation project requires careful preparation. The first step is gathering all the necessary tools and materials. This ensures the process goes smoothly and efficiently.
Essential Tools
To install solar panels, you need specific tools. Below is a list of essential tools:
- Drill: For making holes in the mounting surface.
- Screwdriver: To tighten screws and bolts.
- Wrench: For securing nuts and bolts.
- Wire Stripper: To strip insulation from wires.
- Multimeter: To measure electrical values.
- Level: Ensures panels are mounted straight.
- Safety Gear: Includes gloves, goggles, and helmets.
Required Materials
Next, gather the materials needed for the installation. Here are the required materials:
| Material | Purpose |
|---|---|
| Solar Panels | Convert sunlight into electricity. |
| Mounting Brackets | Secure panels to the roof or ground. |
| Inverter | Convert DC to AC electricity. |
| Batteries | Store excess energy. |
| Wiring | Connect panels to the inverter and batteries. |
| Connectors | Link wiring and components securely. |
By gathering these tools and materials, you are ready to start the installation. Proper preparation ensures a smoother and more efficient process.
Site Assessment
A thorough site assessment is crucial for a successful solar panel installation. This step ensures that your solar system will perform optimally. The assessment covers evaluating the roof condition and determining the optimal placement for the panels.
Evaluating Roof Condition
Start with a detailed inspection of the roof condition. A strong, stable roof is essential. Check for any damage or wear. Ensure the roof can support the weight of the panels. Address any issues before proceeding.
- Inspect for broken or missing shingles.
- Check for leaks or water damage.
- Ensure the roof structure is sound.
Determining Optimal Panel Placement
Next, determine the optimal placement for the solar panels. This step maximizes energy production. Analyze the roof’s orientation and tilt. South-facing roofs receive the most sunlight.
Consider shading from trees or buildings. Use tools to measure sunlight exposure. Ideal locations have minimal shading throughout the day.
| Factor | Details |
|---|---|
| Roof Orientation | South-facing is best |
| Roof Tilt | 30-45 degrees optimal |
| Shading | Minimal is ideal |
Use this information to plan the installation layout. Proper placement enhances efficiency and energy output.
Mounting The Panels
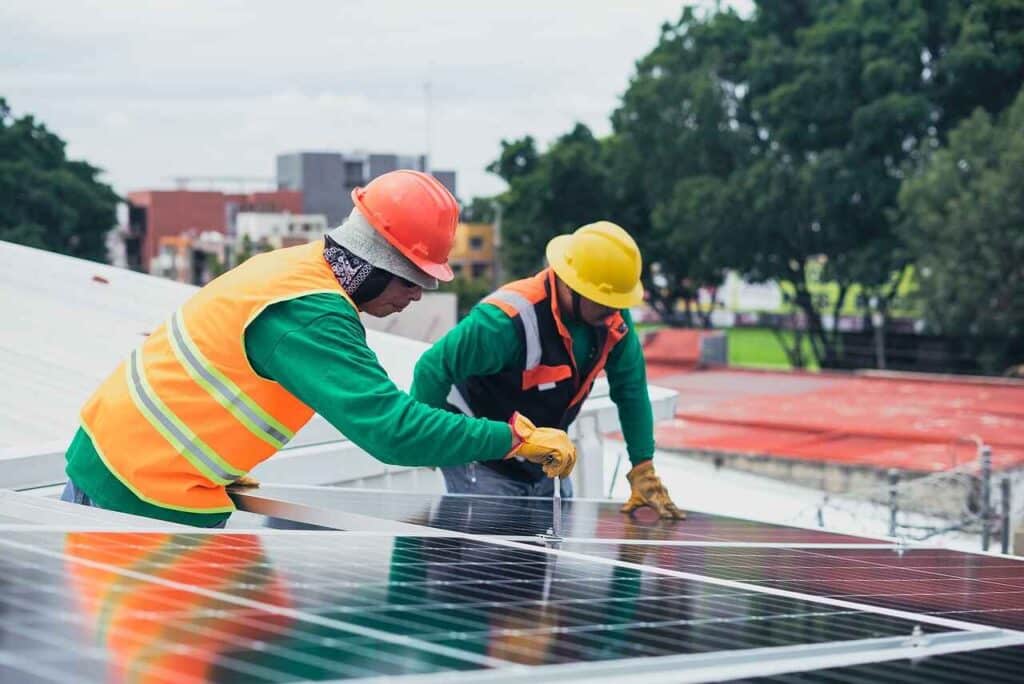
Mounting solar panels is crucial. It ensures your panels work efficiently and last long. This section explains how to mount your solar panels correctly.
Installing Mounting Brackets
Start by installing the mounting brackets. These brackets hold your solar panels securely. Follow these steps for a proper installation:
- Mark the spots on the roof where the brackets will go.
- Drill holes at the marked spots.
- Insert screws into the drilled holes.
- Attach the mounting brackets with the screws.
- Ensure the brackets are tightly secured.
Remember, brackets must be aligned properly. Misalignment can cause issues later.
Securing Panels To Brackets
Next, you need to secure the solar panels to the brackets. Follow these steps to ensure a firm attachment:
- Lift the solar panel onto the brackets.
- Align the panel with the brackets.
- Use bolts to attach the panel to the brackets.
- Tighten the bolts securely.
- Check that the panel is stable and does not wobble.
Double-check all connections. A loose panel can be dangerous and inefficient.
| Step | Action |
|---|---|
| 1 | Mark spots for brackets |
| 2 | Drill holes |
| 3 | Insert screws |
| 4 | Attach brackets |
| 5 | Lift panel onto brackets |
| 6 | Align panel |
| 7 | Use bolts to attach the panel |
| 8 | Tighten bolts |
| 9 | Check stability |
Careful installation ensures your solar panels perform well. Follow these steps for a successful setup.
Wiring And Connections
Wiring and connections are crucial for a successful solar panel installation. Proper wiring ensures efficient energy flow and safety. Let’s explore the essential aspects of wiring and connections.
Connecting Panels In Series Or Parallel
Connecting solar panels can be done in two ways: series or parallel. Each method has its advantages and applications.
- Series Connection: Panels connected in series increase the voltage. This is suitable for systems needing higher voltage levels.
- Parallel Connection: Panels connected in parallel increase the current. This is suitable for systems needing higher current levels.
| Connection Type | Voltage | Current |
|---|---|---|
| Series | Increases | Remains the same |
| Parallel | Remains the same | Increases |
Series connections are made by connecting the positive terminal of one panel to the negative terminal of the next. Parallel connections are made by connecting all positive terminals together and all negative terminals together.
Running Cables To Inverter
Once the panels are connected, the next step is running cables to the inverter. The inverter converts the DC power generated by the panels into AC power for household use.
- Use properly rated cables for the current and voltage.
- Run cables through conduits to protect them from damage.
- Ensure connections are secure and tight to prevent energy loss.
- Label all cables for easy identification during maintenance.
Proper cable management is essential. It reduces energy loss and prevents potential hazards. Use cable ties and clamps to keep cables organized.
Always follow local electrical codes and standards to ensure safety and compliance.
Inverter Installation
The inverter is the brain of your solar system. It converts DC power from panels to AC power. This process ensures your home can use the generated electricity. Below, we discuss key steps to ensure a smooth inverter installation.

Choosing The Right Inverter
Selecting the correct inverter is vital. Here are some factors to consider:
- Capacity: Ensure the inverter can handle your system’s load.
- Type: Choose between string, micro, or hybrid inverters.
- Efficiency: High-efficiency inverters reduce energy loss.
- Warranty: Look for inverters with long warranty periods.
| Inverter Type | Best For | Efficiency |
|---|---|---|
| String Inverter | Small to medium systems | 95-98% |
| Micro Inverter | Shaded roofs | 90-95% |
| Hybrid Inverter | Battery storage | 96-98% |
Connecting Inverter To Panels
After choosing your inverter, the next step is connection. Follow these steps:
- Mount the Inverter: Choose a shaded and ventilated location.
- Connect DC Wiring: Link the panels to the inverter’s DC input.
- Ground the Inverter: Ensure proper grounding for safety.
- Connect AC Wiring: Link the inverter to your home’s electrical panel.
- Test the System: Verify all connections and test for functionality.
Proper connection is essential for efficiency and safety. Always follow the manufacturer’s instructions.
System Testing
Once the solar panels are installed, system testing is crucial. It ensures the system works efficiently and safely. This involves checking electrical connections and monitoring system performance.
Checking Electrical Connections
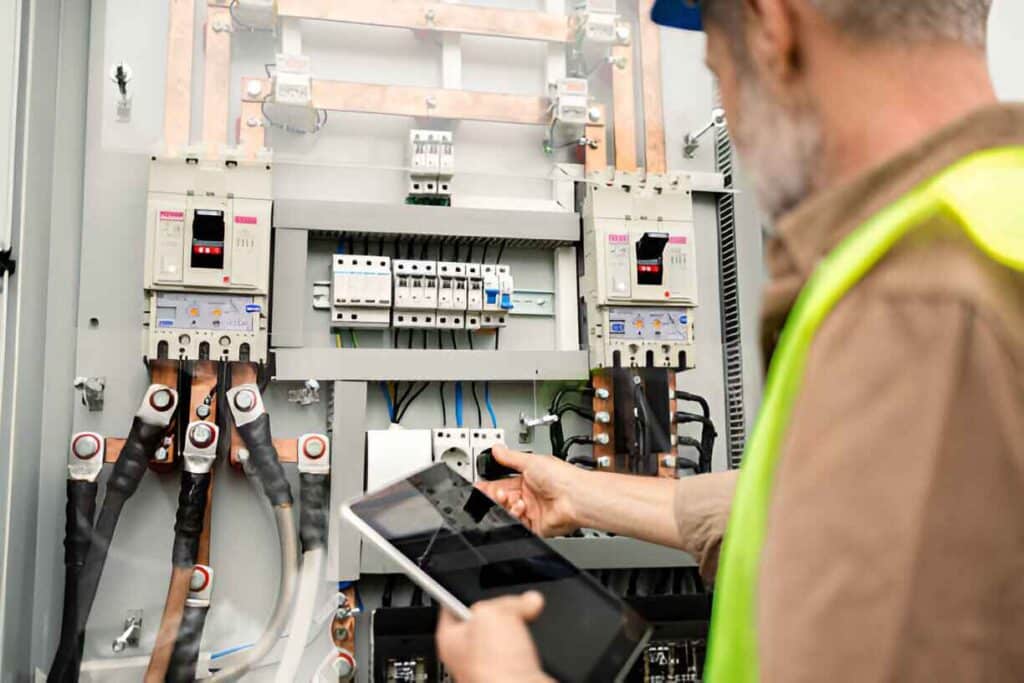
Testing begins with checking electrical connections. Inspect each connection to ensure they are tight and secure. Loose connections can cause energy loss or even a fire hazard. Use a multimeter to check voltage levels at different points. Confirm that the readings match the expected values.
| Connection Point | Expected Voltage |
|---|---|
| Inverter Input | 300-600V |
| Inverter Output | 120/240V |
| Battery Bank | 48V |
Use a thermal camera to check for hot spots. Hot spots indicate poor connections or faulty components. Address any irregularities immediately to prevent future issues.
Monitoring System Performance
After checking connections, monitor system performance. This involves real-time tracking of energy production and consumption. Use a solar monitoring system to gather data.
- Track daily energy production
- Monitor peak performance hours
- Check for any performance dips
Compare the actual performance with the expected output. Use the data to identify inefficiencies. Address any discrepancies to optimize the system.
Regularly monitoring the system ensures long-term efficiency. It also helps in early detection of potential issues.
Maintenance Tips
Keeping your solar panels in top condition is crucial. Regular maintenance ensures efficiency and longevity. Follow these simple tips to maintain your solar panels effectively.
Cleaning Solar Panels
Dust, dirt, and debris can block sunlight. This reduces the efficiency of your solar panels. Clean your panels regularly to avoid this.
- Use a soft brush or sponge.
- Avoid harsh chemicals.
- Clean panels early in the morning.
- Rinse with water and let them air dry.
Regular System Inspections
Regular inspections help in identifying potential issues early. This prevents costly repairs and ensures optimal performance.
- Check for any cracks or damages in the panels.
- Inspect the wiring and connections.
- Ensure the mounting system is secure.
- Monitor the inverter performance.
| Maintenance Task | Frequency |
|---|---|
| Cleaning Panels | Monthly |
| System Inspections | Bi-annually |
| Inverter Monitoring | Quarterly |
Frequently Asked Questions
What Is A Solar Panel Installation Diagram?
A solar panel installation diagram shows the layout and connections of solar components. It helps in understanding how solar panels, inverters, and batteries are connected.
How Does A Solar Panel Installation Diagram Help?
A solar panel installation diagram helps visualize the setup. It ensures correct installation, avoiding mistakes and ensuring efficient energy production.
What Components Are Shown In The Diagram?
The diagram shows solar panels, inverters, batteries, and wiring. It also includes safety switches and grounding systems.
Why Is Wiring Important In The Diagram?
Wiring is crucial for the system’s efficiency and safety. Proper wiring ensures optimal energy flow and prevents electrical hazards.
Conclusion
Understanding a solar panel installation diagram is essential for efficient setup. It helps ensure optimal energy generation. Clear diagrams simplify the process, making it accessible for homeowners and installers. Embrace solar energy for a sustainable future. Investing in proper installation today leads to long-term savings and environmental benefits.
